Sunday, September 18, 2011

CVS Beauty Deals - Week of September 18th

<a href="http://www.bloglovin.com/blog/2737051/julify?claim=vz4r7fszyg4">Follow my blog with Bloglovin</a>

This week there are some pretty amazing beauty deals at CVS. As always, combine any of your own coupons with these deals to save even more.

The most exciting deal, in my opinion, is the sale on Revlon Super Lustrous, Moon Drops, or ColorBurst Lip. This week, these lip products are on sale for $6.49. Additionally, you'll get $5.00 back in ExtraCare Bucks (ECBs) for each one you purchase (limit 6 per household). As if that deal wasn't good enough already, most Revlon ColorBurst lipglosses have a $2.00 off sticker coupon on them. This means that you could buy 1 ColorBurst lipgloss, you'd normally being paying $6.49, but with the $2.00 off coupon, it's $4.49, plus you get $5.00 in ECB back. Essentially, you're making money by buying these lipglosses this week.

Next, Milani is having a special sale this week, which is amazing because Milani almost never has coupons or sales. This week, if you spend $10.00 on any Milani cosmetics, you'll get $4.00 in ECB back.

Covergirl is offering a pretty similar deal as well. This week, if you spend $10.00 pre-coupon on any Covergirl eye cosmetics, you'll receive $3.00 back in ECB (limit one per household).

Also, check your Sunday papers this week for a $5.00 off coupon for Revlon's new Age Defying with DNA Advantage foundation. Additionally, this product is on sale this week for $10.00, though, normally, it sells for $15.00. To sweeten this deal even more, you'll also receive $2.00 in ECB, essentially making it $3.00. That's a savings of 80%!!!

Another great deal this week is given to us by Neutrogena. When you buy 2 or more foundations, concealers, powders, blushes, etc. (pretty much any face products) you'll get $8.00 back in ECB.

Here's a repeat from last week: spend $15.00 pre-coupon on any L'Oreal cosmetics and get $5.00 in ECB.

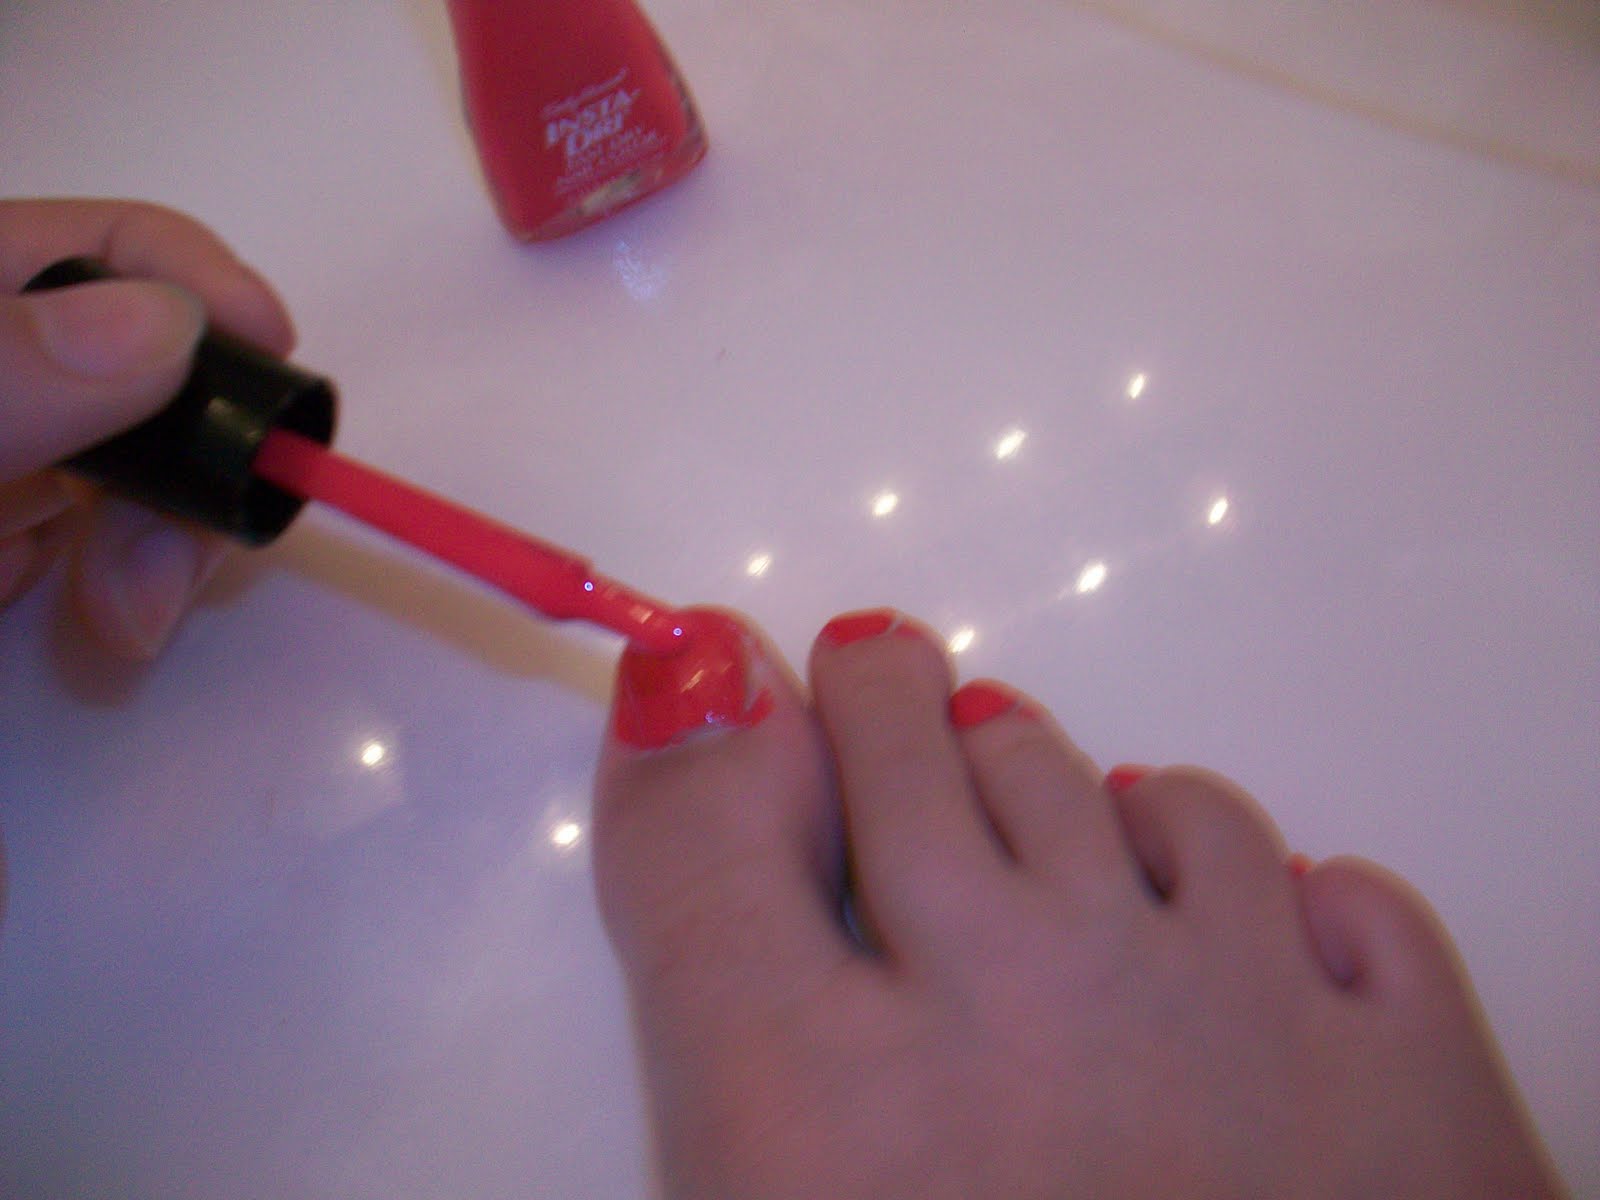
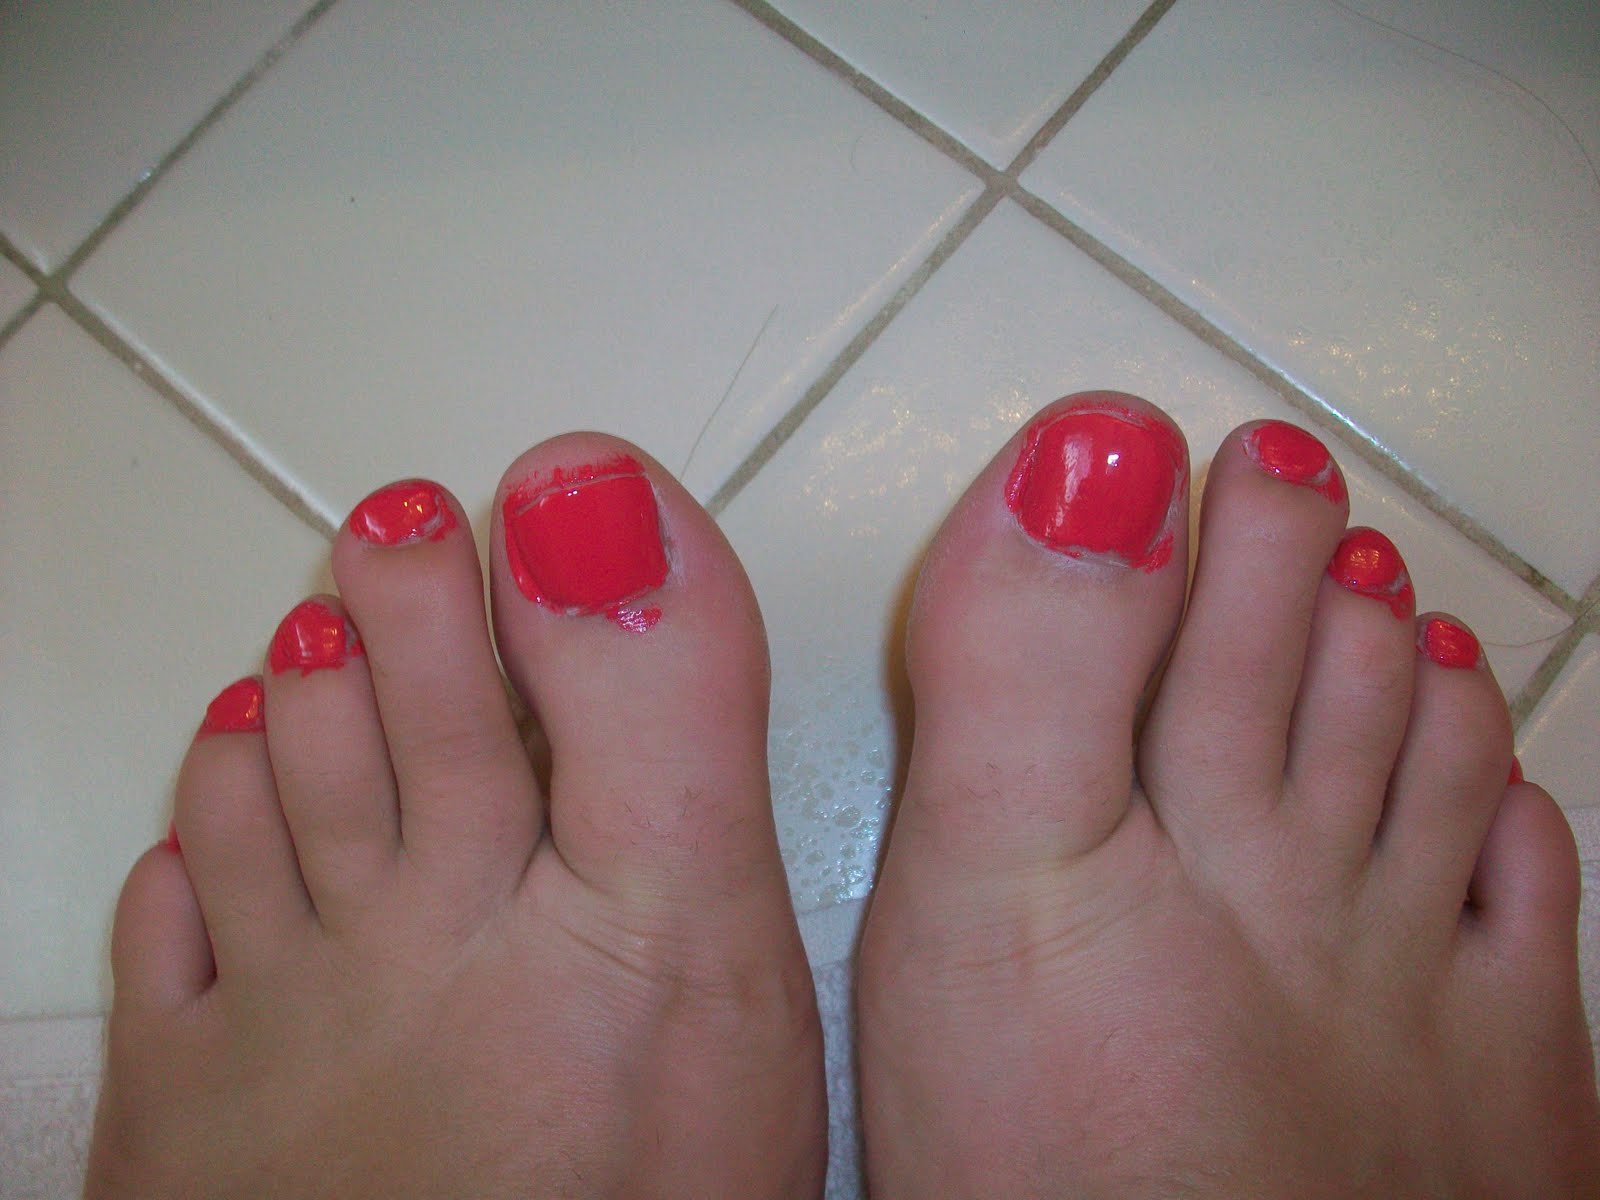
Sally Hansen is also having a great deal this week. When you spend $10.00 pre-coupon on any Sally Hansen products, you'll get $3.00 back in ECB. (Their new Halloween Nail Effects were just released - they're absolutely adorable!!)

Nexxus is offering a pretty good deal too: spend $20.00 on any shampoo, conditioner, or styler and get $10.00 back in ECB, essentially making it half price (limit one per household).

And of course, one final, non-beauty-related deal: Gold Emblem candy corn (8 oz.) is on sale this Monday, Tuesday, and Wednesday (19th, 20th, and 21st) for $0.99. Afterwards, you'll receive $0.99 back in ECB, essentially making it free (limit one per household).


Check back later this week to see what deals I took advantage of and what I got! Also, leave a comment telling me what deals you found this week and what you bought.

Thursday, July 21, 2011

Julie's First Time

If there is one thing I hate in this world, it is painting my nails. I hate everything about it. For me, nail polish is messy, smelly, sticky, and overrated. I have no patience to let it sit and dry on my fingernails.

However, it's not as bad when I paint my toes. Sure, it's still messy and smelly and sticky, but I can still do stuff at my computer or eat a snack while waiting for my toes to dry. Also, my mom has this rule that it's not proper to wear sandals unless your toenails are painting.

So today I gave into it. It wasn't nearly as bad as I thought it would be. I used a base coat, two coats of polish, and a top coat, letting each coat dry for 5 minutes. It took me just about a half hour to get everything painted, dried, and cleaned up. I was rather impressed with myself.

I have terrible dancer's feet and I try to make them look good, but at the end of the day, I'm usually just too lazy to care. But today I started off by smoothing and buffing my toenails using a smoother/buffer thing that I bought at the Dollar Tree.


After that, I applied my L.A. Colors Basecoat-Topcoat that I also bought at the Dollar Tree.


After I let that dry for a few minutes, I applied my first coat of Sally Hansen's Insta-Dry Fast Dry Nail Color in #31 Speedy Sunburst. It's a bright raspberry color.

 
I applied this with shaky, arthritic hands, which created a huge mess all around my toenails which I knew would take an army of cutips and nail polish remover to clean up.

I let that coat dry for another 5 minutes before applying my second coat.

Here's my left foot with a second coat applied and right foot with just one coat. There's really not a huge difference on camera.

Again, I let that coat dry for about 5 minutes before I moved on to my topcoat.

Although the basecoat that I had applied earlier can also be used as a topcoat, I decided to use the Sally Hansen Mega Shine Extended Wear Top Coat. My aunt gave this to me a few months ago and I really enjoy it on the rare occasions that I actually paint my nails.


Once the topcoat had dried, I was able to employ my trusty army:


I ended up not using any of the cotton balls to clean up my toes, but I did use quite a few of the cutips.


In the end, I thought my toes looked pretty good considering this had been my first time painting them myself since about middle school.


Thursday, May 26, 2011

FOTD - 5-25-11

So today I have work at 10:30 AM. I set my alarm for 9:00 so I could work out and then shower, but I was all over that snooze button until about 9:30. When I finally woke up I remembered that I showered last night, which was good because that meant that even though I had slept in, I didn't have to rush.


I didn't have time to do anything special with my makeup: just the necessities to make me look awake. I started out by applying my L'Oreal Studio Secrets Anti-Dull Skin Primer

The pink/salmon shade is amazing for underneath the eyes. I'm not sure if that's what it's really supposed to be used for, but you'll be like, "What dark circles? Where?" Anyways, after applying that, I decided that I didn't even really never to put concealer over it because it was already blended into my skintone.

From there, I decided to skip out on eyeshadow completely and just went for eyeliner and mascara. I thightlined using my L'Oreal Contour Kohl in black.

I'm not sure if these are sold in stores in the U.S. I've never seen them here before. Anyways, I got mine last year when I was in El Salvador: it came in a pack with two L'Oreal Telescopic Explosion mascaras. (In case you're wondering, I didn't care for the mascara. It was clumpy, and the wand was too small for me to handle.)

After tightlining, I lined my upper lashline with my CoverGirl Perfect Point Plus eyeliner in black.

I love this eyeliner because of its extremely skinny tip that never needs to be sharpened. I virtually almost never mess up my top liner when using this (knock on wood).

Next, I curled my lashes with my e.l.f. Eyelash Curler

...and I applied my favorite mascara: Maybelline New York Lash Stiletto Voluptuous.

This is my all-time favorite mascara because of the amazing length it gives. I like very dramatic lashes, but if you're looking for volume, this might not be the mascara for you. However, on those days when I want to add a little volume, I usually just layer my Maybelline Volume Express the Falsies Mascara over top of it.

I love this mascara a lot, too, but I do find that it has difficulty holding a curl. In my opinion, Maybelline makes the best mascara: drugstore or otherwise. I don't think that mascara is something you have to pay high-end prices for. Although these mascaras are fairly expensive for the drugstore, they're under $10.

The final mascara I used was also from Maybelline. Nearly everyday I set my unruly eyebrows in place with the Maybelline Great Lash clear mascara.

Again, I don't really see the need to spend money on high-end brow gels (especially because I'm a broke college student) when this clear mascara works just fine.

I added some final touches to my face by covering up a few scars and blemishes using my Coastal Scents Camouflage Concealer Palette.

These concealers are super creamy and easy to blend and the palette is super affordable. I find it's a great thing to have in my collection when doing my friends' makeup because they're all so much tanner than I am. This way, I have a concealer to match everyone.


When I got home from work, I made plans to go out with a friend who I hadn't seen in about a month. I decided to add on a little extra makeup to complete my look.

I started off my priming my eyelids. Normally, I would apply my eyeshadows before my eyeliner and mascara, but because I was adding to a look, I had no choice. I used my Urban Decay Primer Potion all over my lid and up to my browbone.
I decided to just define my crease and do a little highlighting. Using my Urban Decay Naked Palette...

...I applied the color Naked into my crease using my my e.l.f. Blending Eye Brush.

Next, I darkened the outter corner of my crease using the same brush and a little bit of Buck from the Naked Palette. Both Naked and Buck are the only two matte colors in this palette, and I love using them to blend out my lid colors or just to put in my crease.

Finally, I used the lightest color from the palette, Virgin, as a highlight on my browbone as well as my inner corner. This color is almost matte, but I would say it's more of a satin because of its slight shimmer.  Before applying this to my inner corner, I first lined my tear duct with my Rimmel London Soft Kohl Kajal Eye Liner Pencil 071 Pure White.